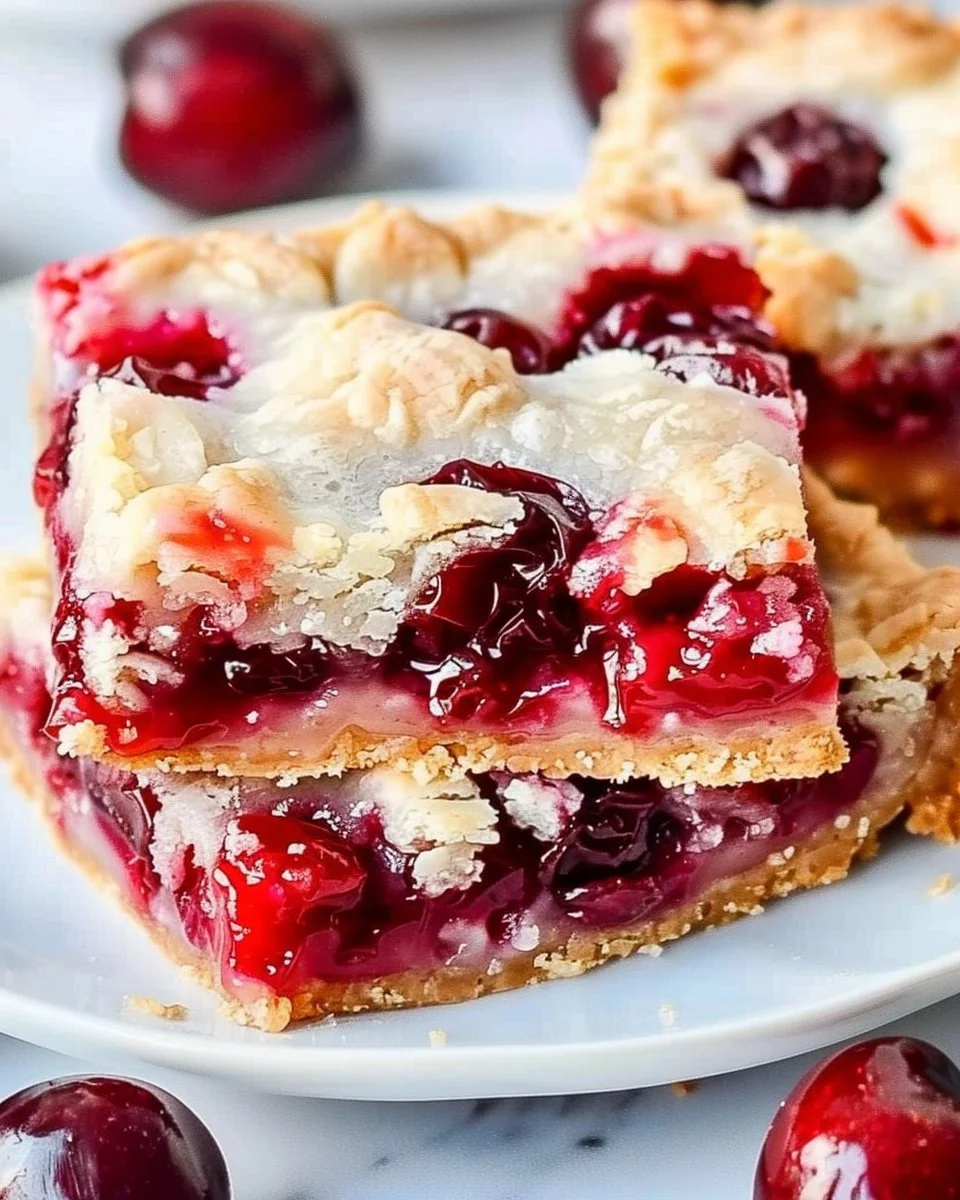
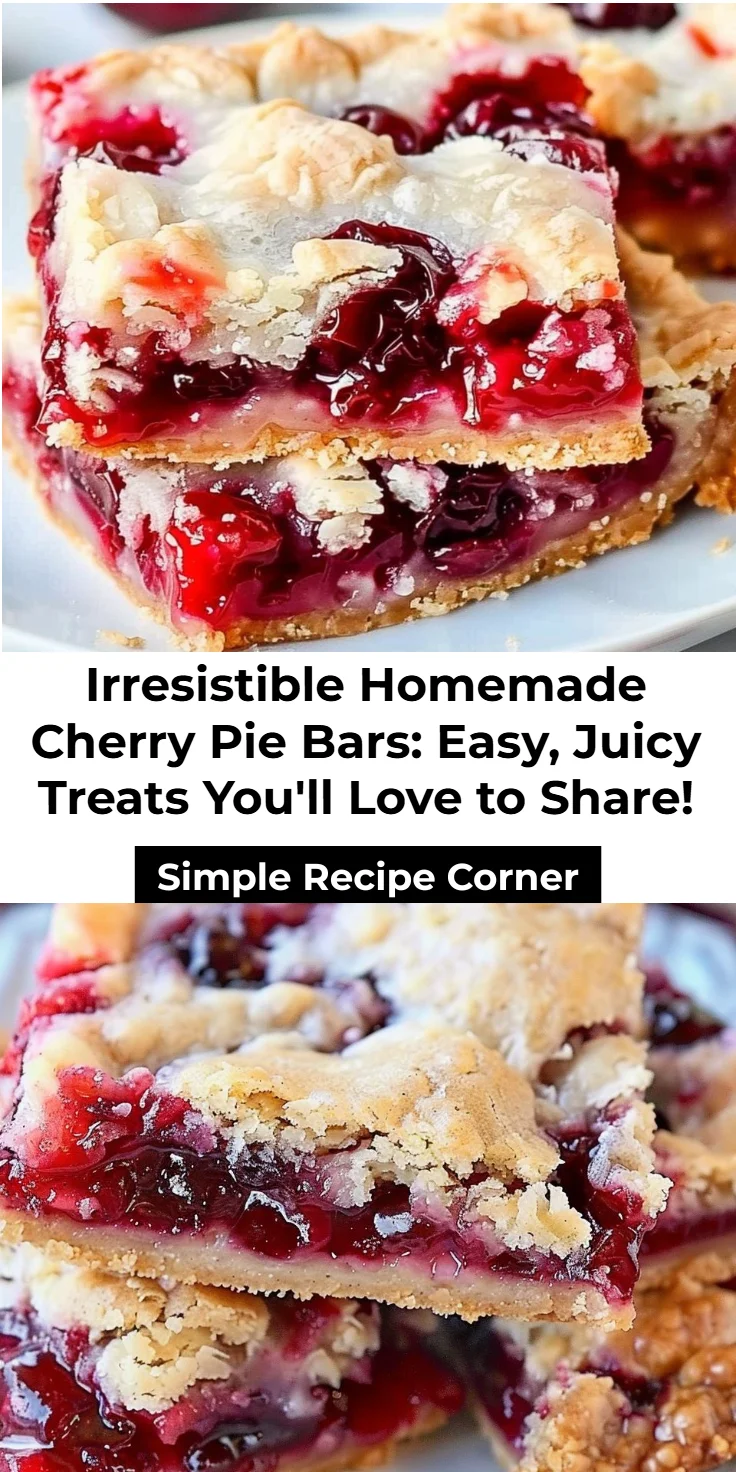
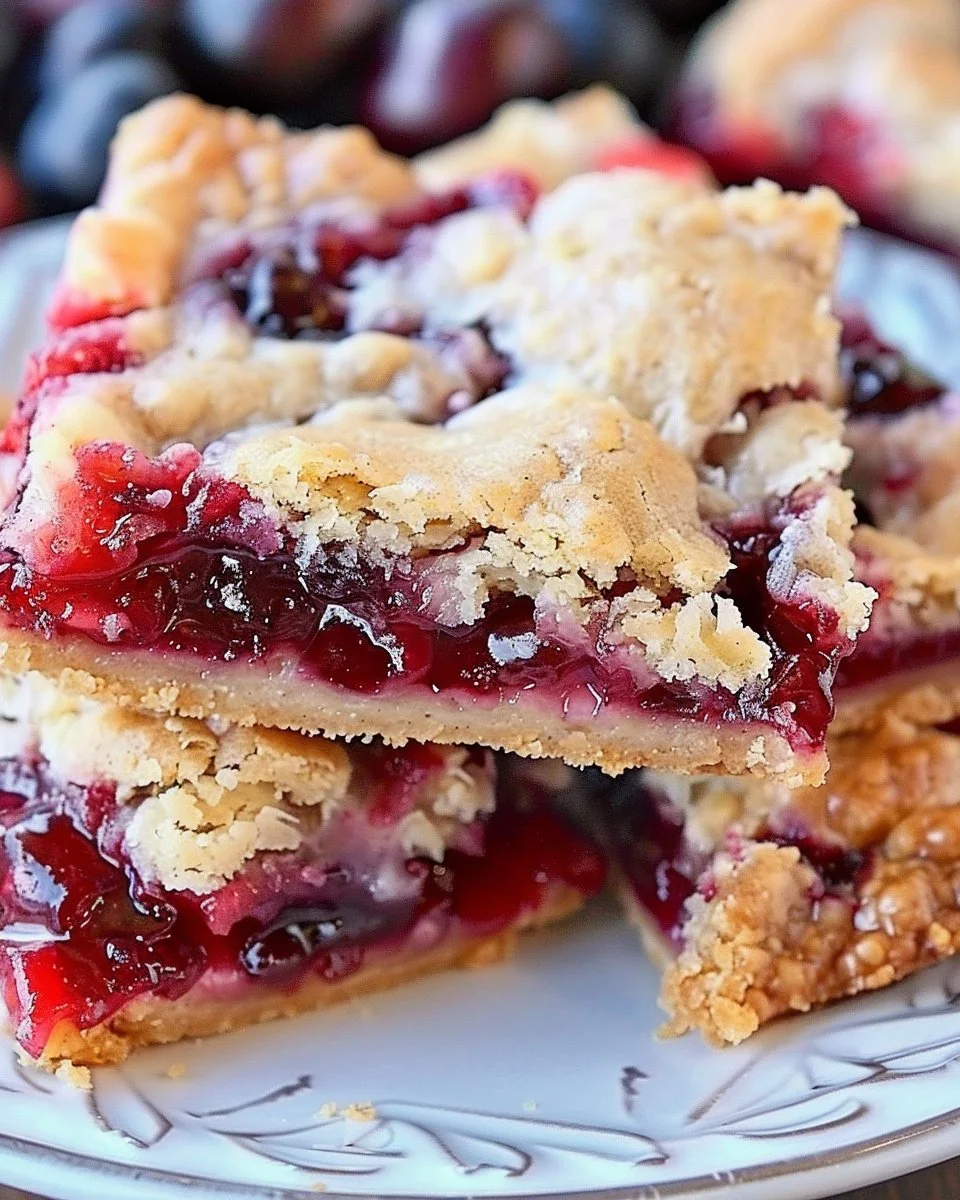
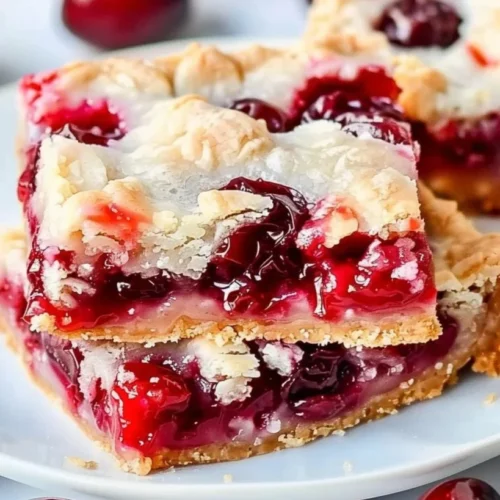
Homemade Cherry Pie Bars Recipe: Easy From-Scratch Dessert
There’s something magical about biting into a buttery, flaky cherry pie bar, the tangy-sweet fruit filling bursting with flavor. If you’ve found yourself daydreaming about those sweet summer days spent indulging in cherry pie but want something a little simpler to make, you’re in for a treat! Homemade cherry pie bars combine all the joy of traditional cherry pie with the convenience of a handheld dessert. Imagine serving these delightful, easy-to-make treats at your next gathering; the smiles and satisfied sighs will be worth it!
In this article, we’ll explore everything you need to know to create your very own homemade cherry pie bars, from the ingredients and step-by-step instructions to expert tips and variations to keep things interesting in your kitchen.
Why You Need Homemade Cherry Pie Bars in Your Life
Let’s face it: life can sometimes feel overwhelming, and turning to food for comfort is not uncommon. Homemade cherry pie bars bring a sense of nostalgia and warmth that can uplift your spirits. They are the perfect balance between a rich, buttery crust and a sweet, tart cherry filling, making them ideal for dessert lovers and casual snacking alike. Plus, they are incredibly versatile, fitting in perfectly whether it’s a summer barbecue, an afternoon tea, or even just a cozy night in.
Ingredients You’ll Need for Delicious Cherry Pie Bars
Before diving into the baking process, let’s gather our ingredients. The beauty of these bars is that they require simple pantry staples, making them approachable for everyone, regardless of baking experience.
For the Crust
- 2 cups all-purpose flour
- 1 cup unsalted butter, softened (2 sticks)
- 1/2 cup granulated sugar
- 1/2 teaspoon salt
- 1 teaspoon vanilla extract
For the Cherry Filling
- 2 cups fresh or frozen cherries, pitted (if using frozen, thaw and drain well)
- 1/2 cup granulated sugar (adjust to taste)
- 2 tablespoons cornstarch
- 1 tablespoon lemon juice
- 1/2 teaspoon almond extract (optional)
For the Topping
- 1/2 cup rolled oats
- 1/4 cup brown sugar
- 1/4 cup all-purpose flour
- 1/4 teaspoon cinnamon
- 1/4 cup butter, melted
Step-by-Step Guide to Perfect Cherry Pie Bars
Ready to get your hands a little messy in the kitchen? Let’s transform those fresh cherries into something magical!
1. Preheat Your Oven
Preheat your oven to 350°F (175°C) to prepare for baking hearty cherry pie bars.
2. Make the Crust
- In a large bowl, beat together the softened butter and granulated sugar until light and fluffy.
- Add the vanilla extract and mix until combined.
- Gradually add in the flour. Make sure to mix just until it forms a dough.
- Press about two-thirds of this mixture into the bottom of an 8×8-inch baking dish evenly, forming a solid crust. Save the remaining third for the topping.
3. Prepare the Cherry Filling
- In another bowl, combine the cherries, sugar, cornstarch, lemon juice, and almond extract. Stir gently until the cherries are well-coated.
- Pour the cherry mixture evenly over the crust in the baking dish.
4. Create the Topping
- In the bowl with the reserved crust dough, add the oats, brown sugar, flour, and cinnamon. Mix until crumbly, then drizzle the melted butter over the top, combining until it matches a crumbly texture.
- Sprinkle the topping evenly over the cherry filling.
5. Bake to Perfection
- Bake for 35-40 minutes or until the topping is golden and the filling is bubbly. Keep an eye on them to avoid burning!
- Allow the bars to cool for at least 20 minutes before cutting them into squares.
Pro Tips for Baking Masterpieces
To elevate your homemade cherry pie bars to the next level, consider these expert tips:
- Use fresh cherries when in season for the best flavor and juiciness. If using frozen cherries, ensure they’ve thawed and been drained thoroughly.
- Don’t skip the almond extract! It enhances the cherry flavor beautifully.
- Experiment with different fruits such as blueberries, raspberries, or peaches for a lovely twist on the classic recipe.
- Cool completely before slicing for cleaner cuts. Using a sharp knife helps too!
Common Mistakes to Avoid
Even the best of us can slip up in the kitchen. Here are a few pitfalls to steer clear of while making your cherry pie bars:
- Overmixing the crust can lead to a tough texture. Mix until just combined.
- Under-measuring the filling ingredients may lead to a dry outcome. Ensure you follow the measurements for perfect results.
- Not letting the bars cool could result in a gooey mess. Patience is key!
Sweet Serving Suggestions
Once you’ve whipped up your homemade cherry pie bars, it’s time to enjoy them! Here are some serving ideas to consider:
- Serve them warm or at room temperature with a scoop of vanilla ice cream on top.
- Drizzle with chocolate sauce for a decadent twist.
- Pair with a cup of coffee or tea for a delightful afternoon snack.
Storing Your Cherry Pie Bars
If you somehow have leftovers (which is unlikely!), store your cherry pie bars in an airtight container at room temperature for up to 3 days. For longer storage, freeze the bars wrapped tightly in plastic wrap and then in aluminum foil, which can last for up to 3 months. Just thaw before serving!
Frequently Asked Questions
How do I make homemade cherry pie bars?
Homemade cherry pie bars are made by creating a buttery crust, filling it with sweet cherry filling, topping it with a crumble, and then baking until golden brown.
Can I use frozen cherries for cherry pie bars?
Yes, frozen cherries work well for cherry pie bars. Just make sure to thaw and drain them properly to avoid excess moisture.
What can I serve with homemade cherry pie bars?
Homemade cherry pie bars are delicious on their own but pair well with vanilla ice cream, whipped cream, or a drizzle of chocolate sauce for an extra treat.
Can I substitute different fruits in cherry pie bars?
Absolutely! You can use blueberries, raspberries, or even a combination of fruits alongside cherries for a unique twist.
How long do homemade cherry pie bars last?
When stored properly in an airtight container, homemade cherry pie bars can last for up to 3 days at room temperature or 3 months in the freezer.
A Sweet Conclusion
Now that you’re armed with everything you need to create sumptuous homemade cherry pie bars, why not give them a try? Their delightful flavor and inviting aroma are sure to captivate both you and anyone who shares in your baking endeavor. Whether as a comforting evening snack or a sweet addition to your next get-together, these bars might just become a cherished favorite. Happy baking!
Homemade Cherry Pie Bars
Ingredients
For the Crust
- 2 cups all-purpose flour
- 1 cup unsalted butter, softened (2 sticks)
- 1/2 cup granulated sugar
- 1/2 teaspoon salt
- 1 teaspoon vanilla extract
For the Cherry Filling
- 2 cups fresh or frozen cherries, pitted If using frozen, thaw and drain well.
- 1/2 cup granulated sugar Adjust to taste.
- 2 tablespoons cornstarch
- 1 tablespoon lemon juice
- 1/2 teaspoon almond extract (optional) Enhances cherry flavor.
For the Topping
- 1/2 cup rolled oats
- 1/4 cup brown sugar
- 1/4 cup all-purpose flour
- 1/4 teaspoon cinnamon
- 1/4 cup butter, melted
Instructions
Preparation
- Preheat your oven to 350°F (175°C).
- In a large bowl, beat together the softened butter and granulated sugar until light and fluffy.
- Add the vanilla extract and mix until combined.
- Gradually add in the flour and mix until it forms a dough.
- Press about two-thirds of this mixture into the bottom of an 8×8-inch baking dish evenly, forming a solid crust.
- In another bowl, combine the cherries, sugar, cornstarch, lemon juice, and almond extract. Stir gently until the cherries are well-coated.
- Pour the cherry mixture evenly over the crust in the baking dish.
- In the bowl with the reserved crust dough, add the oats, brown sugar, flour, and cinnamon. Mix until crumbly.
- Drizzle the melted butter over the top, combining until it matches a crumbly texture.
- Sprinkle the topping evenly over the cherry filling.
Baking
- Bake for 35-40 minutes or until the topping is golden and the filling is bubbly.
- Allow the bars to cool for at least 20 minutes before cutting them into squares.