Sweet and Salty Snack Mix
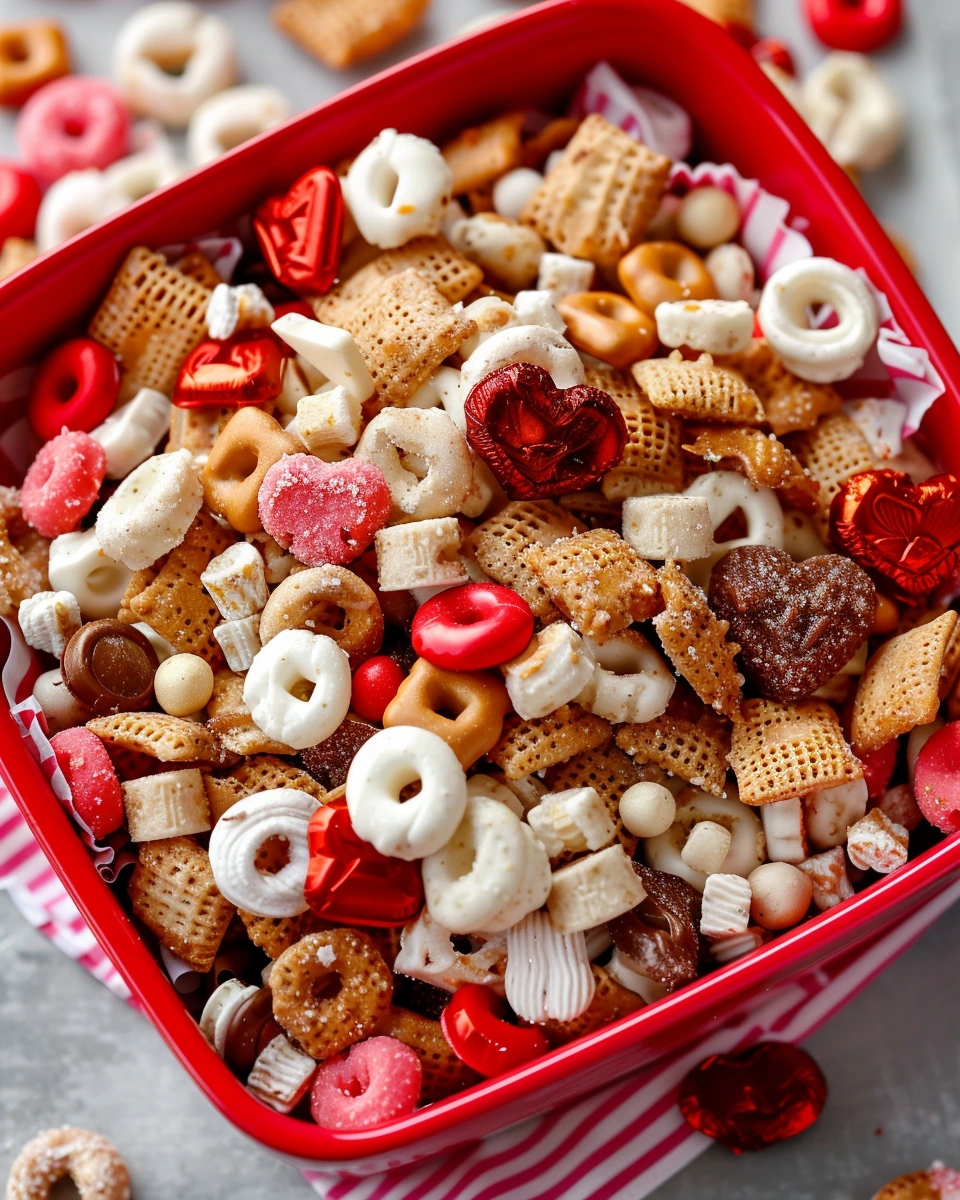
When snack cravings hit, it’s hard to choose between something sweet or something salty—so why not have both? This Sweet and Salty Snack Mix is the perfect solution. It’s crunchy, balanced, and incredibly addictive, making it ideal for parties, road trips, movie nights, or everyday snacking.
I’ve made versions of this snack mix for years, tweaking the ratios and flavors until it hit that just-right balance. In this recipe, you’ll learn how to build layers of flavor, keep everything crisp (not soggy), and customize the mix to fit any occasion. I’ll also share storage tips, fun variations, and answers to common questions so your snack mix turns out perfect every time.
Why You’ll Love This Recipe
-
Perfect sweet-and-salty balance in every handful
-
Quick and easy with no complicated steps
-
Great for parties and gifting
-
Highly customizable with your favorite snacks
-
Stays crunchy for days
Ingredients & Prep
Main Ingredients Prep
-
Pretzels – Mini twists or sticks both work well.
-
Chex cereal – Corn, rice, or a mix for variety.
-
Popcorn – Air-popped or lightly salted is best.
-
Nuts – Peanuts, almonds, or cashews add crunch and protein.
Seasonings, Sauces, or Flavor Base
-
Melted butter – Helps coat everything evenly.
-
Brown sugar – Adds caramel-like sweetness.
-
Vanilla extract – Enhances the sweet flavors.
Pantry Staples
-
Salt – Balances the sweetness.
-
Chocolate chips or candy pieces – Milk or dark chocolate both work.
-
Optional add-ins – Coconut flakes, dried fruit, or mini marshmallows.
Step-by-Step Cooking Instructions
Pre-Cooking Prep
Preheat your oven to 275°F and line a large baking sheet with parchment paper.
In a large bowl, combine pretzels, Chex cereal, popcorn, and nuts. Gently toss to mix evenly.
Cooking Method (Baking or No-Bake Option)
In a small saucepan or microwave-safe bowl, melt the butter. Stir in brown sugar, vanilla extract, and a pinch of salt until smooth.
Pour the butter mixture over the snack mix and toss gently until everything is evenly coated.
Spread the mixture in an even layer on the prepared baking sheet.
Bake for 30–35 minutes, stirring every 10 minutes, until lightly toasted and fragrant.
Remove from the oven and let cool completely. Once cooled, stir in chocolate chips or candy pieces so they don’t melt.
Doneness or Texture Check
The mix should feel dry and crisp once cooled. If it still feels soft, let it cool longer—crunch develops as it sets.
Resting or Final Touches
Allow the snack mix to cool fully before storing. This helps maintain maximum crunch.

Pro Tips for Perfect Results
Common Mistakes to Avoid
-
Adding chocolate too early – It will melt and clump.
-
Overbaking – Can make the mix bitter.
-
Not stirring during baking – Leads to uneven toasting.
Recommended Tools
-
Large mixing bowl
-
Baking sheet
-
Parchment paper
-
Silicone spatula
Storage & Reheating Tips
Store Sweet and Salty Snack Mix in an airtight container at room temperature for up to 1 week. For longer storage, freeze for up to 2 months. No reheating needed—just grab and snack.
Flavor Variations
Spicy Version
Add cayenne pepper or chili powder to the butter mixture for a sweet-heat kick.
Healthy / Special Diet Option
-
Lower sugar: Reduce brown sugar and skip candy pieces.
-
Gluten-free: Use gluten-free pretzels and cereal.
-
Nut-free: Replace nuts with extra popcorn or seeds.
Global Flavor Twist
-
Tropical: Add dried pineapple and coconut
-
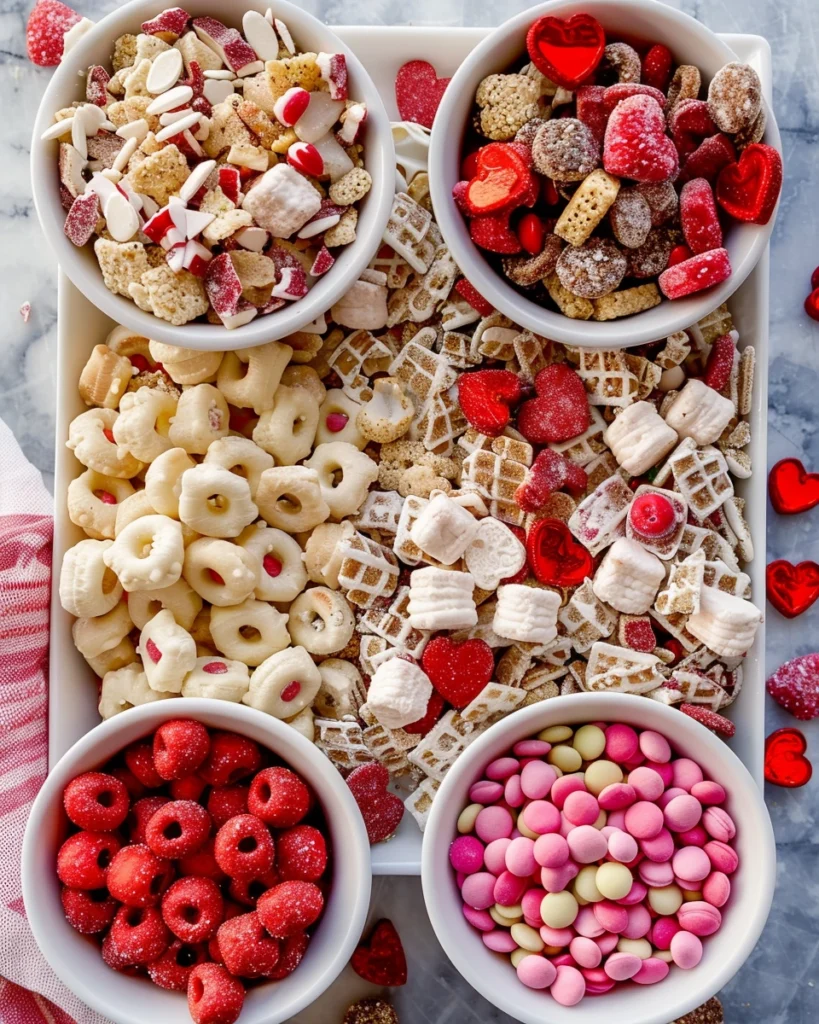
Holiday-style: Add cinnamon and red-and-green candies
-
Chocolate lover’s: Use white and dark chocolate chips together
Serving Suggestions
Serve Sweet and Salty Snack Mix:
-
In bowls for parties
-
Packed into jars or bags for gifts
-
As a road trip or lunchbox snack
-
Alongside movie night treats
It’s great for casual snacking or special occasions.
FAQs
Can I make this ahead of time?
Yes. This snack mix is perfect for making ahead and stays fresh for several days when stored properly.
How do I fix common mistakes?
If the mix feels sticky, spread it out and let it air-dry longer. If it’s too sweet, add more pretzels or nuts to balance it out.
Conclusion
This Sweet and Salty Snack Mix is one of those recipes you’ll make again and again. It’s easy, flexible, and totally irresistible. Readers often say they can’t stop snacking once they start—and that’s the best kind of recipe.
If you enjoyed this snack mix, try adding it to gift baskets or pairing it with homemade popcorn for a full snack spread. Make a batch today and enjoy every crunchy, crave-worthy bite.

Ingredients
- Main Ingredients
- 3 cups pretzels mini twists or sticks
- 3 cups Chex cereal corn, rice, or a mix
- 4 cups popcorn air-popped or lightly salted
- 1½ cups nuts peanuts, almonds, or cashews
- Flavor Base
- ½ cup unsalted butter melted
- ½ cup brown sugar
- 1 tsp vanilla extract
- Pantry Staples & Add-Ins
- ½ tsp salt
- 1 cup chocolate chips or candy pieces milk or dark
- Optional: coconut flakes dried fruit, mini marshmallows
Instructions
- Prep
- Preheat oven to 275°F (135°C). Line a large baking sheet with parchment paper.
- In a large bowl, combine pretzels, Chex cereal, popcorn, and nuts. Toss gently.
- Baking Method
- In a saucepan or microwave-safe bowl, melt butter. Stir in brown sugar, vanilla, and salt until smooth.
- Pour butter mixture over snack mix and toss until evenly coated.
- Spread in an even layer on the baking sheet.
- Bake 30–35 minutes, stirring every 10 minutes, until lightly toasted.
- Cool completely, then stir in chocolate chips or candy pieces.
- Texture Check
- Mix should feel dry and crisp once cooled. Crunch develops as it sets.
- Finish
- Let cool fully before storing to maintain maximum crunch.
Notes
- Add chocolate only after cooling so it doesn’t melt and clump.
- Stirring during baking ensures even toasting.
- If the mix feels sticky, spread it out and let it air-dry longer.