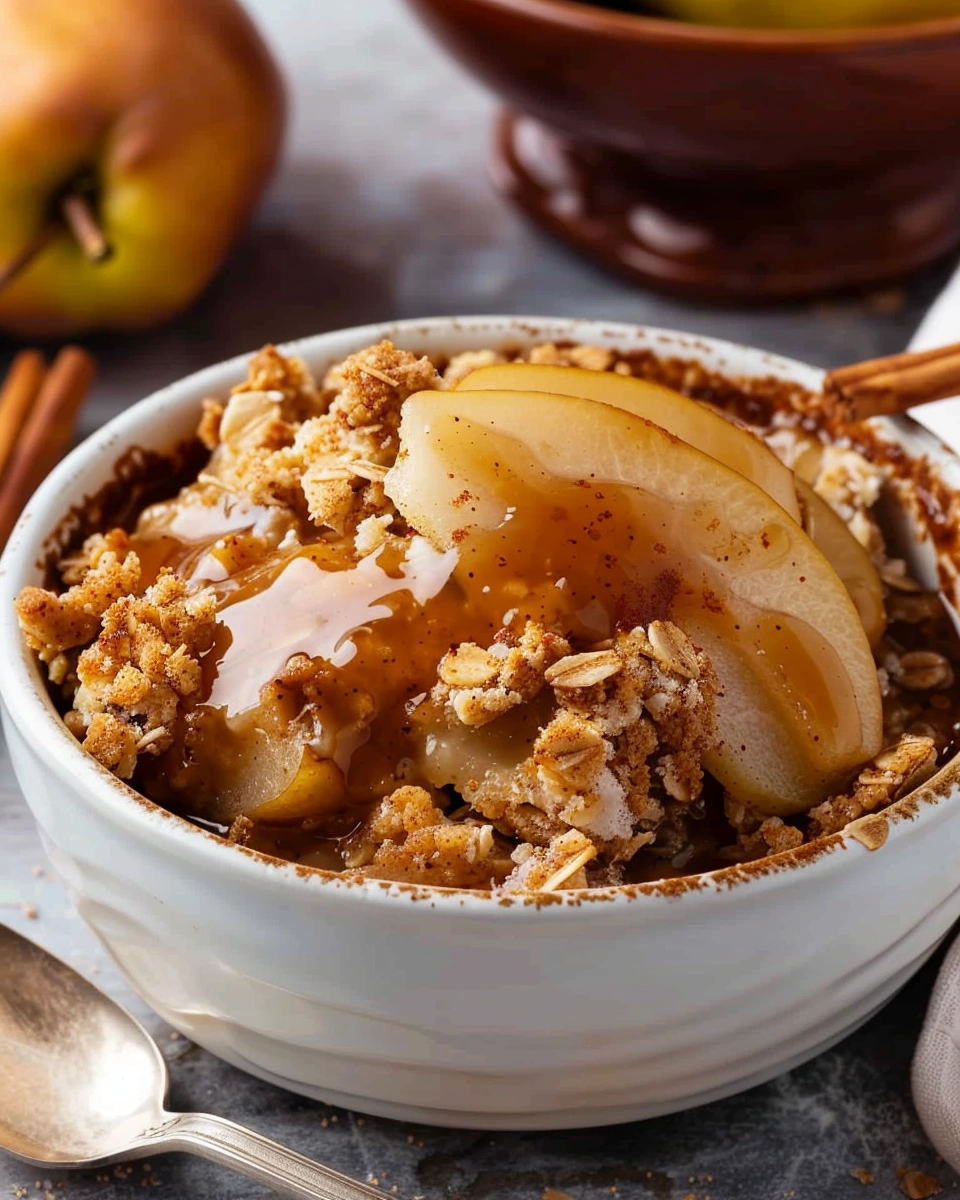
When the weather cools down and fruit desserts start calling, Spiced Pear Crisp is the kind of cozy, no-fuss recipe everyone loves. A common struggle with fall desserts is finding something warm and comforting that isn’t complicated or overly sweet. This pear crisp hits that sweet spot perfectly.
I’ve been making pear crisps for years, especially when pears are ripe but not great for eating out of hand. Baking them brings out their natural sweetness, and the warm spices make the whole kitchen smell amazing. This spiced pear crisp is simple, reliable, and perfect for both casual weeknights and holiday gatherings.
In this post, you’ll learn exactly how to make spiced pear crisp step by step, along with tips, easy variations, serving ideas, and answers to common questions.
Why You’ll Love This Recipe
-
Warm and comforting: Perfect for fall and winter
-
Simple ingredients: Nothing fancy or hard to find
-
Crowd-pleasing: Great for family dinners or guests

Ingredients & Prep
This spiced pear crisp comes together with fresh fruit and pantry staples.
Main Ingredients Prep
-
Pears: Bartlett, Anjou, or Bosc work best; peeled, cored, and sliced
-
Lemon juice: Brightens flavor and prevents browning
Seasonings, Sauces, or Flavor Base
-
Ground cinnamon: Warm and cozy
-
Ground nutmeg: Adds depth
-
Ground ginger: Subtle spice and warmth
-
Vanilla extract: Rounds out the flavor
Pantry Staples
-
Granulated sugar: Sweetens the fruit
-
Brown sugar: Adds richness to the topping
-
Old-fashioned oats: Creates a crisp texture
-
All-purpose flour: Helps bind the topping
-
Butter: Cold and cubed for best crumble
-
Salt: Balances sweetness
Step-by-Step Cooking Instructions
Pre-Cooking Prep
Preheat your oven to 350°F. Lightly grease an 8×8-inch baking dish.
Peel, core, and slice the pears into even slices. Place them in the baking dish and toss with lemon juice, granulated sugar, cinnamon, nutmeg, ginger, and vanilla extract. Spread into an even layer.
Cooking Method
In a mixing bowl, combine oats, flour, brown sugar, and salt. Add the cold butter cubes and use your fingers or a pastry cutter to work it in until the mixture forms coarse crumbs.
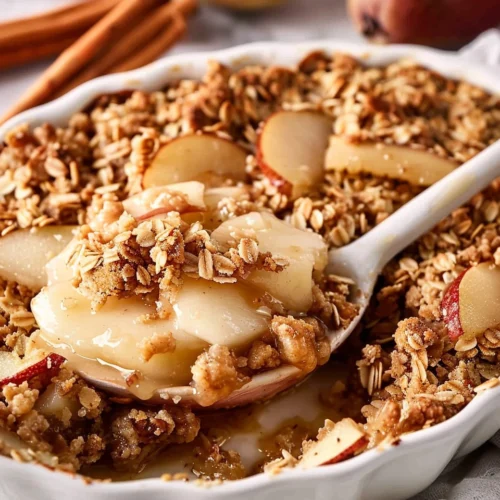
Sprinkle the crisp topping evenly over the pears.
Bake uncovered for 40–45 minutes, or until the topping is golden brown and the pear filling is bubbly around the edges.
Doneness or Texture Check
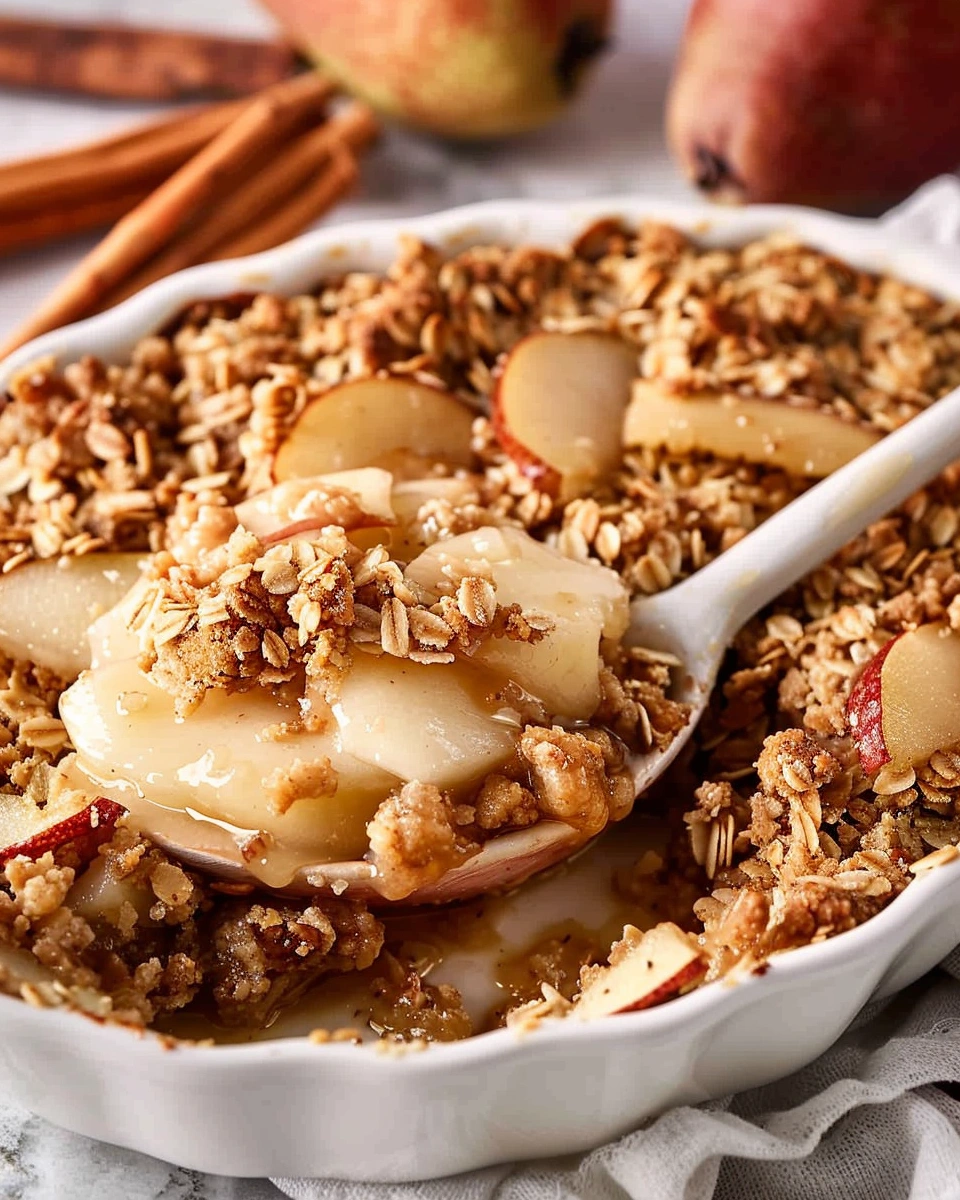
The pears should be tender when pierced with a fork, and the topping should feel crisp and lightly browned.
Resting or Final Touches
Let the spiced pear crisp rest for 10–15 minutes before serving. This allows the juices to thicken slightly and makes serving easier.
Pro Tips for Perfect Results
Common Mistakes to Avoid
-
Using underripe pears, which won’t soften properly
-
Overmixing the topping, which makes it dense
-
Skipping the rest time after baking
Recommended Tools
Storage & Reheating Tips
-
Store leftovers covered in the refrigerator for up to 4 days
-
Reheat in the oven at 300°F or microwave individual servings
-
Crisp topping can be refreshed in the oven
Flavor Variations
Spicy Version
Add a pinch of cloves or cardamom for extra warmth.
Healthy / Special Diet Option
-
Use whole wheat flour or almond flour
-
Reduce sugar slightly if pears are very ripe
-
Use coconut oil instead of butter
Global Flavor Twist
-
Pear-apple crisp: Use half pears, half apples
-
Maple spice: Replace some sugar with maple syrup
-
Nutty: Add chopped walnuts or pecans to the topping
Serving Suggestions
Spiced pear crisp is best served warm with:
-
Vanilla ice cream
-
Whipped cream
-
Plain or vanilla yogurt
It’s perfect as a weeknight dessert or a simple holiday treat.
FAQs
Can I make this ahead of time?
Yes. Bake it ahead, refrigerate, and reheat before serving.
How do I fix common mistakes?
If it’s too watery, bake a bit longer. If the topping browns too fast, loosely cover with foil.
Conclusion
This Spiced Pear Crisp is a simple, comforting dessert that celebrates the natural sweetness of pears with warm, cozy spices. It’s easy to make, smells incredible while baking, and always gets rave reviews. I’ve made this recipe countless times, and it never disappoints.
If you love easy fruit desserts like this, save this recipe and try it with apples or mixed fruit next time. It’s one you’ll come back to again and again.