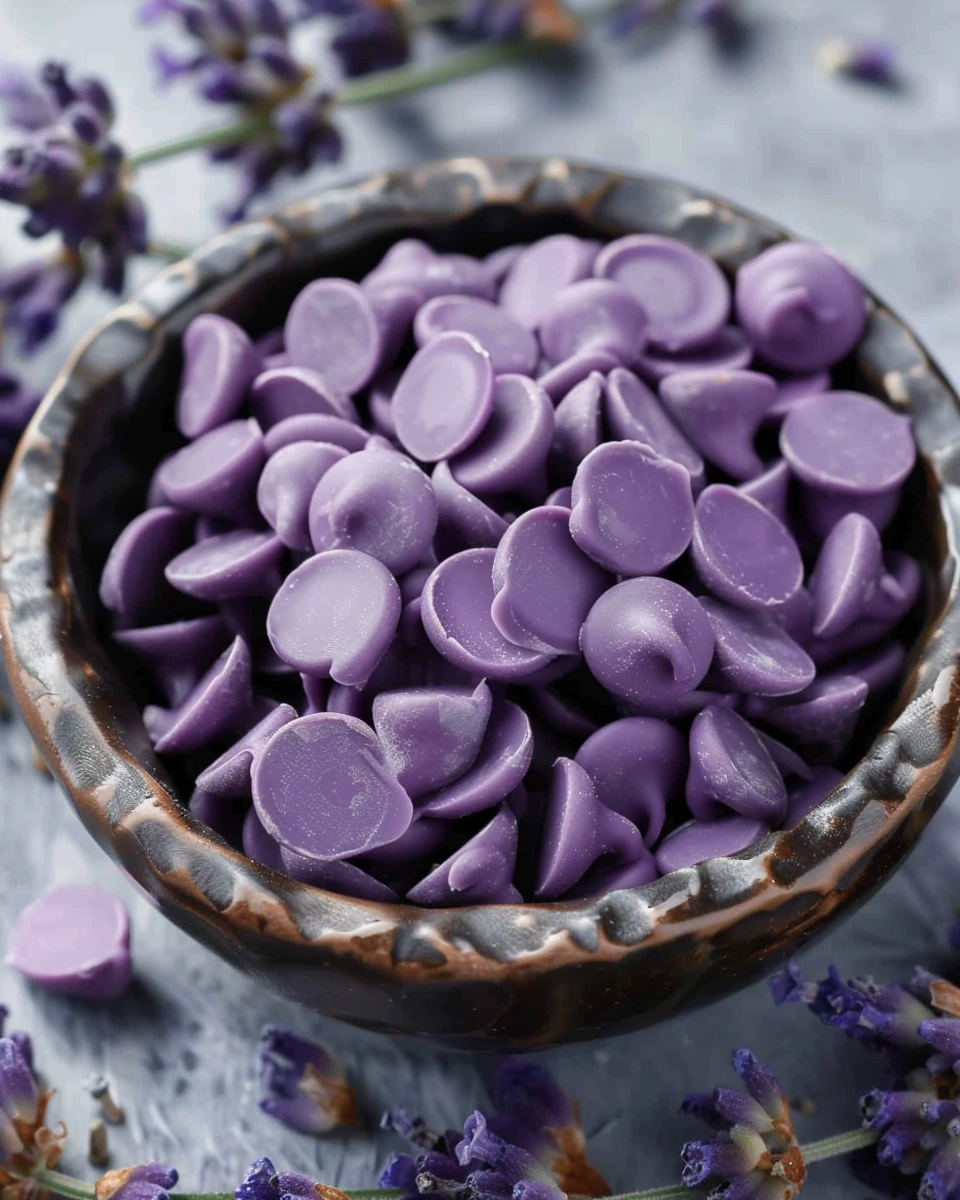
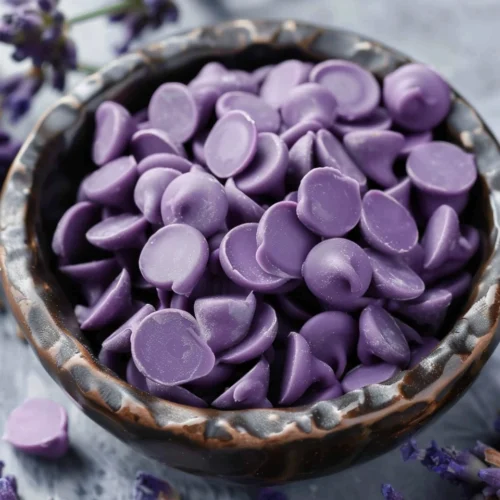
If you love baking and want to try something unique, these DIY lavender chocolate chips are a fun and flavorful twist on a classic ingredient. Regular chocolate chips are great, but adding a subtle floral note takes your desserts to a whole new level.
I started making these when experimenting with floral desserts, and they instantly elevated cookies, cakes, and even ice cream. The combination of rich chocolate and delicate lavender creates a balanced, slightly gourmet flavor that feels special but is surprisingly easy to make.
In this guide, you’ll learn how to make DIY lavender chocolate chips step-by-step, plus tips, variations, and FAQs to help you get perfect results every time.
Why You’ll Love This Recipe
-
Unique flavor – Chocolate with a light floral touch
-
Easy to make – Simple ingredients and quick steps
-
Customizable – Adjust lavender strength to your taste
-
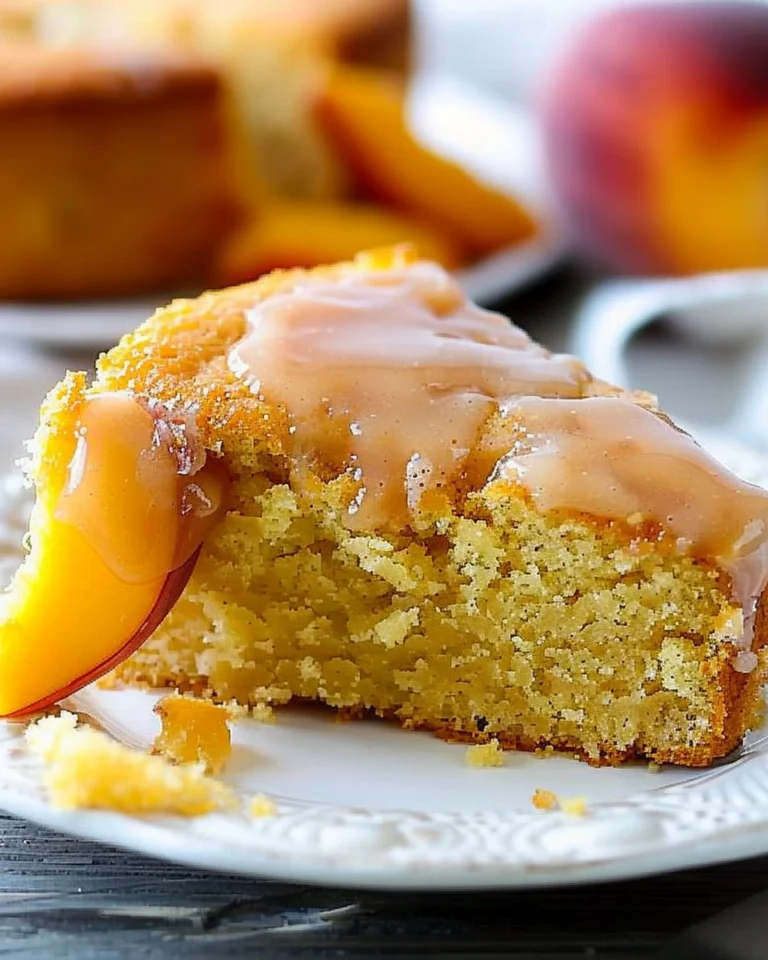
Perfect for baking – Great in cookies, cakes, and desserts
-
Gourmet feel – Adds a special twist to everyday treats
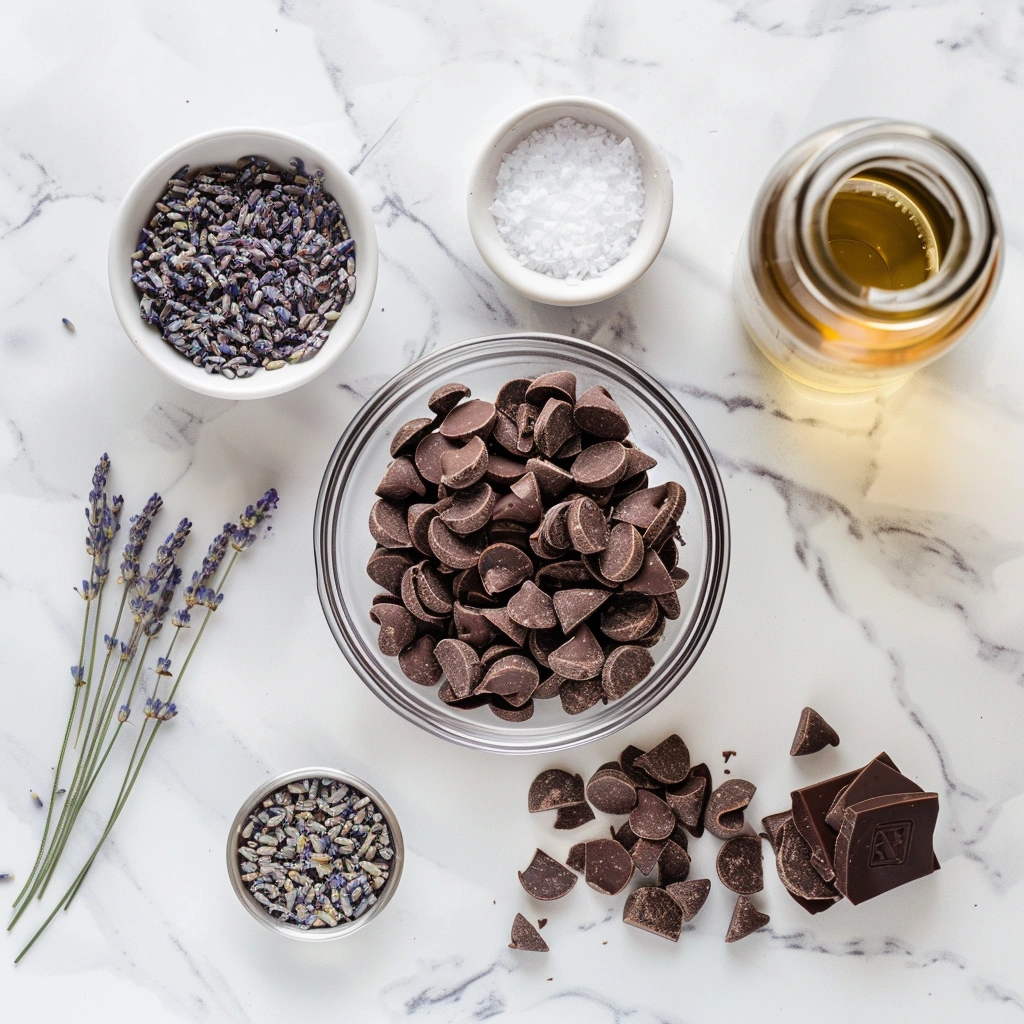
Ingredients & Prep
Main Ingredients Prep
-
High-quality chocolate (1–2 cups, chopped)
Use dark, semi-sweet, or milk chocolate depending on preference.
Seasonings, Sauces, or Flavor Base
-
Culinary dried lavender (1–2 teaspoons)
Make sure it’s food-grade and finely crushed.
-
Coconut oil or cocoa butter (1 teaspoon, optional)
Helps create a smooth, glossy finish.
Pantry Staples
Step-by-Step Cooking Instructions
Pre-Cooking Prep
-
Line a baking sheet with parchment paper.
-
Finely grind the dried lavender to release flavor.
-
Chop chocolate into small, even pieces for melting.
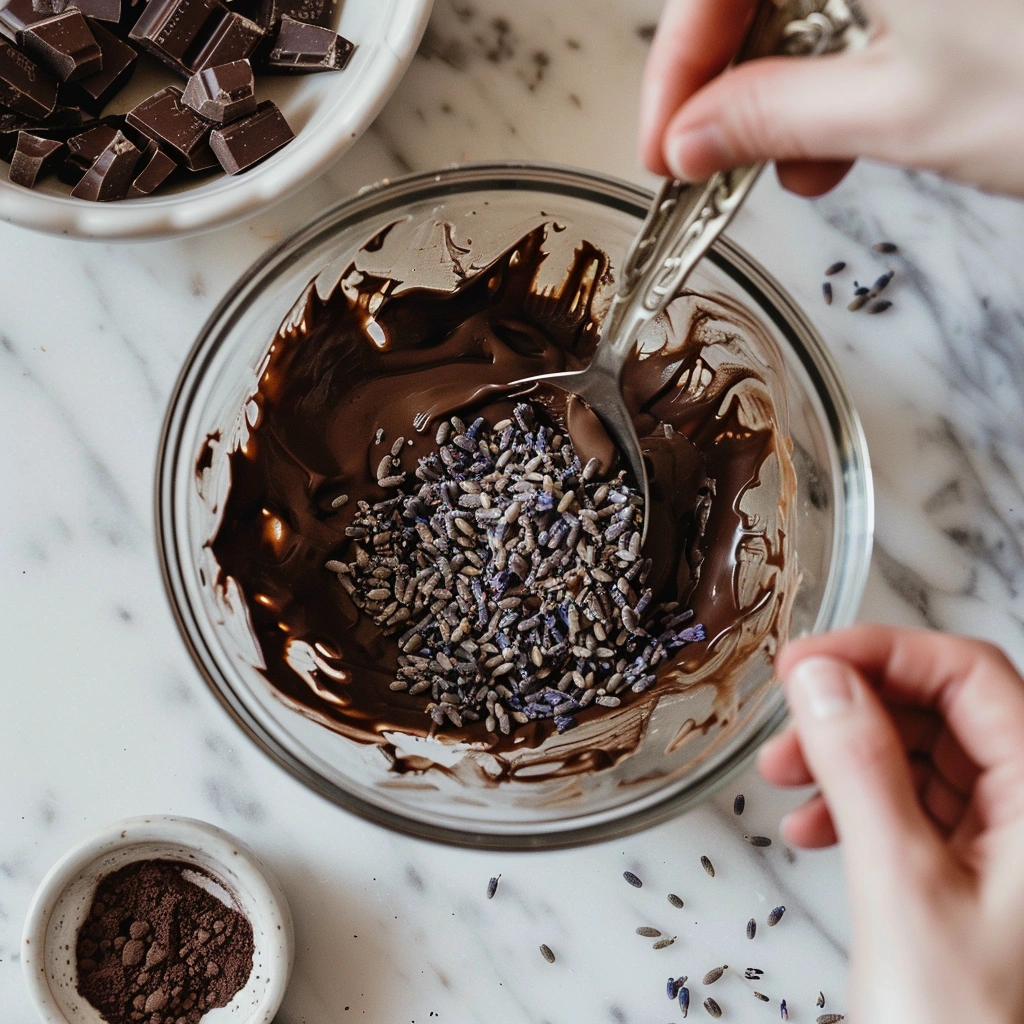
Melting & Mixing Method
-
Melt chocolate using a microwave (in 20–30 second intervals) or a double boiler. Stir until smooth.
-
Add crushed lavender and mix well.
-
If needed, stir in a small amount of coconut oil for a smoother texture.
Shaping the Chips
-
Transfer melted chocolate into a piping bag or use a spoon.
-
Pipe small chip-sized dots onto the parchment paper.
-
Try to keep sizes consistent for even use in baking.
Setting & Final Touches
-
Let chocolate chips set at room temperature or refrigerate for 15–20 minutes.
-
Once firm, gently remove from parchment paper.
-
Store in an airtight container until ready to use.
Doneness or Texture Check
-
Chips should be fully hardened
-
Smooth and slightly glossy finish
-
Hold shape at room temperature
Pro Tips for Perfect Results
Common Mistakes to Avoid
-
Using too much lavender – can taste overpowering or soapy
-
Overheating chocolate – causes grainy texture
-
Not grinding lavender – leads to uneven flavor
-
Skipping parchment paper – makes removal difficult
Recommended Tools
-
Double boiler for gentle melting
-
Piping bag for uniform chips
-
Silicone spatula for mixing
-
Airtight container for storage
Storage & Reheating Tips
-
Store in a cool, dry place for up to 2 weeks
-
Keep away from heat to prevent melting
-
Do not refrigerate long-term (can affect texture)
-
No reheating needed
Flavor Variations
Spicy Version
Add a tiny pinch of chili powder for a subtle heat that contrasts the floral notes.
Healthy / Special Diet Option
-
Use dark chocolate (70%+) for lower sugar
-
Choose dairy-free chocolate for vegan chips
-
Skip added oils for a more natural version
Global Flavor Twist
-
Add orange zest for a citrus-floral combination
-
Mix in crushed rose petals for a floral blend
-
Add a drop of vanilla extract for a softer flavor
Serving Suggestions
These DIY lavender chocolate chips are perfect for:
Use in:
-
Cookies and brownies
-
Muffins and cakes
-
Ice cream and yogurt
Creative ideas:
Pair with:
FAQs
Can I make this ahead of time?
Yes! DIY lavender chocolate chips can be made in advance and stored in an airtight container until you’re ready to use them.
How do I fix common mistakes?
-
Too strong flavor? Use less lavender next time
-
Chocolate seized? Add a small amount of oil and stir gently
-
Chips too soft? Let them set longer or refrigerate briefly
Conclusion
These DIY lavender chocolate chips are a simple yet creative way to elevate your baking. With their delicate floral flavor and rich chocolate base, they add a unique touch to any dessert.
Once you try them, you’ll love how easy it is to create gourmet-style ingredients right at home. They’re perfect for experimenting, gifting, or just making your favorite treats a little more special.
If you enjoyed this recipe, share it with friends and explore more creative baking ideas to keep your kitchen fun and inspiring!