Fruit Roll Ups
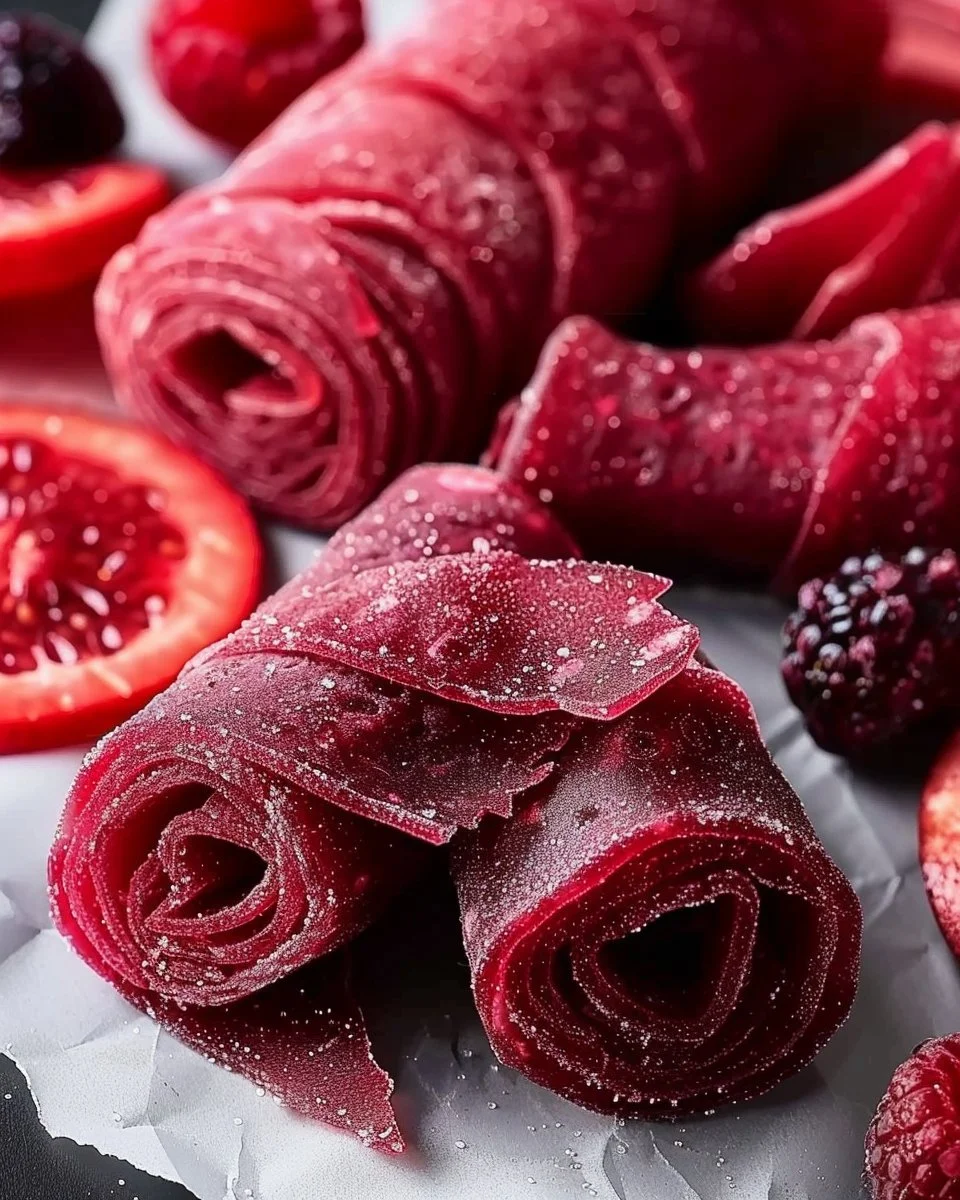
A Sweet Nostalgia: The Allure of Fruit Roll Ups
If you’ve ever unraveled a shiny package of Fruit Roll Ups, you know that moment when childhood nostalgia washes over you. Their vibrant colors and playful flavors have a magical way of tugging at the heartstrings. But it’s not just about reminiscing; there’s a reason Fruit Roll Ups have remained a beloved snack for both kids and adults alike. In this article, we’ll explore what makes these fruity snacks so special, delve into their ingredients, and even discover how to make your own delightful versions at home.
The Magic Behind Fruit Roll Ups
Fruit Roll Ups are more than just a treat; they represent a familiarity and simplicity in an increasingly complex food world. For many, they bring back memories of school lunches and playdates. But what exactly are they? Essentially, they are thin sheets of fruit leather made from pureed fruit, often enhanced with flavorings, sweeteners, and preservatives. Their chewy texture and sweet-tart flavor make them an irresistible snack.
Why You Should Love Fruit Roll Ups
Nostalgic Comfort
Fruit Roll Ups remind us of simpler times, filling us with warmth and comfort as we unwrap each roll. They often serve as a delightful indulgence, allowing you to maintain a sense of childlike joy in the midst of adult responsibilities.
Versatility in Snacking
These fruity delights are not just for munching on their own. You can use Fruit Roll Ups creatively:
- Pack them in lunchboxes for a fun treat.
- Pair them with cheese or yogurt for a balanced snack.
- Incorporate them into desserts for added flavor in yogurt parfaits or cake decorations.
Creating Your Own Fruit Roll Ups
Making your own Fruit Roll Ups can be a fun and rewarding activity, allowing you to use fresh ingredients and control the sweetness. Here’s a simple recipe to get you started:

Ingredients You’ll Need
- 2 cups of pureed fruit (such as strawberries, apples, or mangoes)
- 1 tablespoon of honey or agave syrup (optional for added sweetness)
- 1 tablespoon of lemon juice
Step-by-Step Guide to Homemade Fruit Roll Ups
- Preheat your oven to its lowest setting, usually around 150°F (65°C).
- Prepare your fruits by washing, peeling, and chopping them as necessary. Blend them in a food processor until you have a smooth puree.
- Mix in the optional honey and lemon juice to enhance flavor and preserve color.
- Spread the puree evenly onto a baking sheet lined with parchment paper. Aim for a thickness of about 1/8 inch.
- Bake in the oven for 6 to 8 hours, or until the fruit leather is no longer sticky and can be peeled off the parchment easily. This long drying time ensures that your Fruit Roll Ups will have a pleasant chewiness.
- Cool completely, then slice into strips and roll them up for easy snacking!
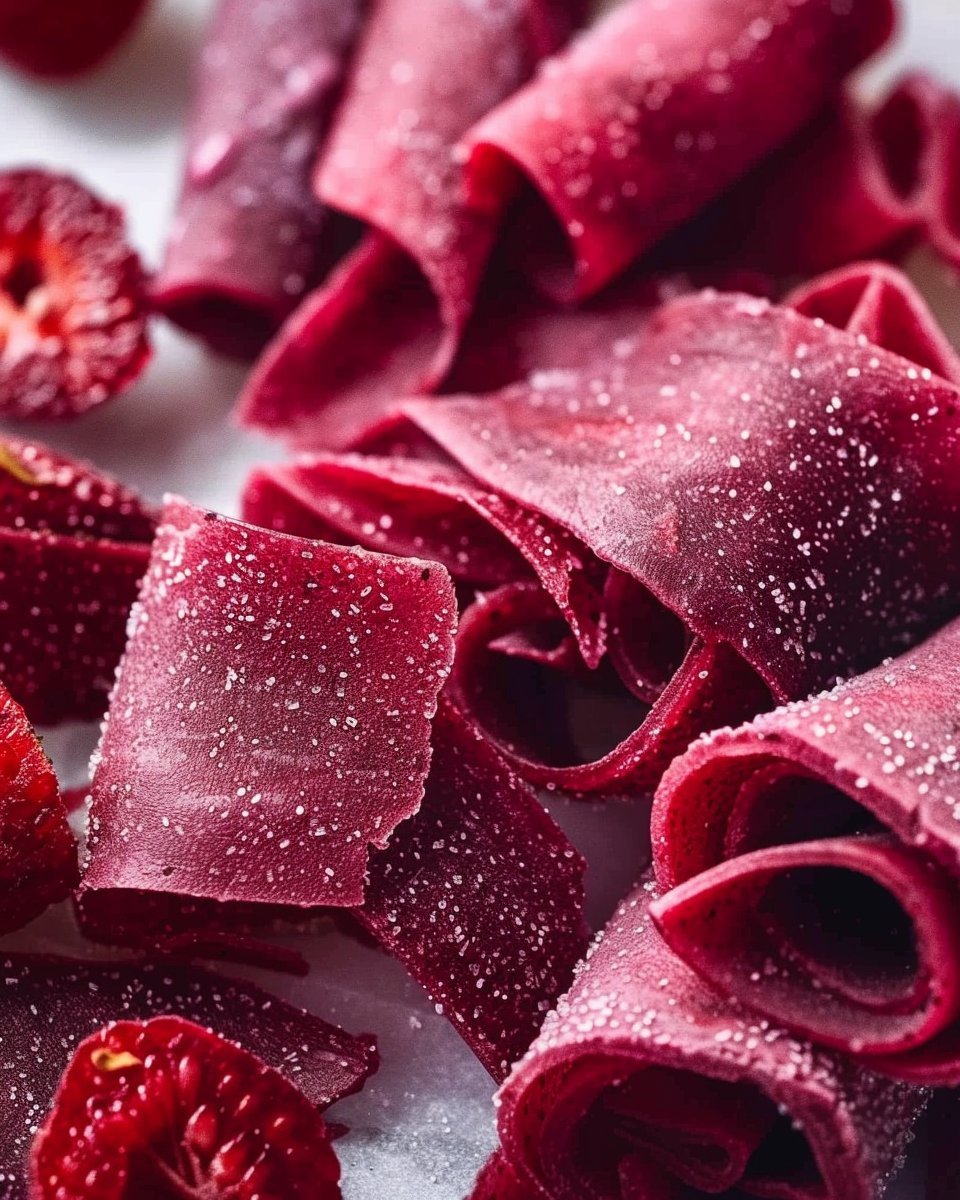
Tips for Your Homemade Fruit Roll Ups
- Experiment with flavors: Mix different fruits for unique combinations. Consider using berries, peaches, or even a hint of banana!
- Add spices: A dash of cinnamon or vanilla can elevate your Fruit Roll Ups to another level.
- Store properly: Keep them in an airtight container in a cool, dry place, or refrigerate for longer-lasting freshness.
The Health Factor: Are Fruit Roll Ups Good for You?
When made at home, Fruit Roll Ups can be a healthy alternative to store-bought snacks. You control the ingredients, allowing you to skip the preservatives and artificial flavors typically found in commercial versions. Here are some health benefits of making your own:
- Rich in nutrients: Using whole fruits guarantees that you’re packing in vitamins and minerals.
- Lower in sugar: By regulating the sugar you add, these homemade snacks can align better with your health goals.
- Customizable: Adjust the sweetness and flavor to fit your preference or dietary needs.
Common Pitfalls to Avoid
When making Fruit Roll Ups, a few common mistakes can lead to unsatisfactory results:
- Overcooking: Keep an eye on the drying process. Too much time in the oven can turn your fruit leather brittle and unappealing.
- Inconsistent thickness: Ensure an even spread of puree to achieve uniform drying.
- Skipping lemon juice: This crucial ingredient not only enhances flavor but also helps maintain color and freshness.
Creative Ways to Enjoy Fruit Roll Ups
Beyond just unrolling and enjoying them, here are some fun serving ideas:
- In desserts: Layer them in a trifle or as a surprising element in fruit tarts.
- For breakfast: Cut them into pieces and mix them into your morning oatmeal or yogurt for extra flavor.
- As a party snack: Roll them up with cream cheese and serve as a fancy hors d’oeuvre.
Frequently Asked Questions (FAQs)
Q1: What are Fruit Roll Ups made of?
A1: Fruit Roll Ups are primarily made from pureed fruit, often with added sweeteners, flavorings, and preservatives, depending on the brand.
Q2: Are homemade Fruit Roll Ups healthier than store-bought?
A2: Yes, homemade Fruit Roll Ups allow you to control the ingredients, making them healthier by reducing sugar and eliminating preservatives.
Q3: Can I use frozen fruit for making Fruit Roll Ups?
A3: Absolutely! Just make sure to thaw and drain any excess liquid before pureeing the fruit.
Q4: How do I know when my Fruit Roll Ups are done?
A4: They are finished baking when they are no longer sticky to the touch and can easily be peeled from the parchment paper.
Q5: Can I add other flavors to my Fruit Roll Ups?
A5: Yes, you can easily mix in spices, other fruit purees, or natural flavorings like vanilla or almond extract.
Wrapping It Up
Fruit Roll Ups offer more than just a sweet treat; they are intertwined with childhood memories and creativity in snacking. By making your own, you not only embrace the joy of a classic but also have fun experimenting with flavors and ingredients. Whether you enjoy them on their own, blended into meals, or shared with friends, these homemade versions promise to delight your taste buds while keeping those cherished memories alive.
Indulge your nostalgia and get playful in the kitchen – the world of Fruit Roll Ups is waiting for you to unwrap its potential!
Fruit Roll Ups
Ingredients
Main Ingredients
- 2 cups pureed fruit (strawberries, apples, or mangoes) Use fresh or thawed frozen fruit.
- 1 tablespoon honey or agave syrup Optional for added sweetness.
- 1 tablespoon lemon juice Helps maintain color and enhance flavor.
Instructions
Preparation
- Preheat your oven to its lowest setting, around 150°F (65°C).
- Prepare your fruits by washing, peeling, and chopping them as necessary. Blend them in a food processor until you have a smooth puree.
- Mix in the optional honey and lemon juice to enhance flavor and preserve color.
- Spread the puree evenly onto a baking sheet lined with parchment paper, aiming for a thickness of about 1/8 inch.
Cooking
- Bake in the oven for 6 to 8 hours, or until the fruit leather is no longer sticky and can be easily peeled off the parchment.
- Cool completely, then slice into strips and roll them up for easy snacking.