Cotton Candy Flavored Ice Cream (No-Churn!)
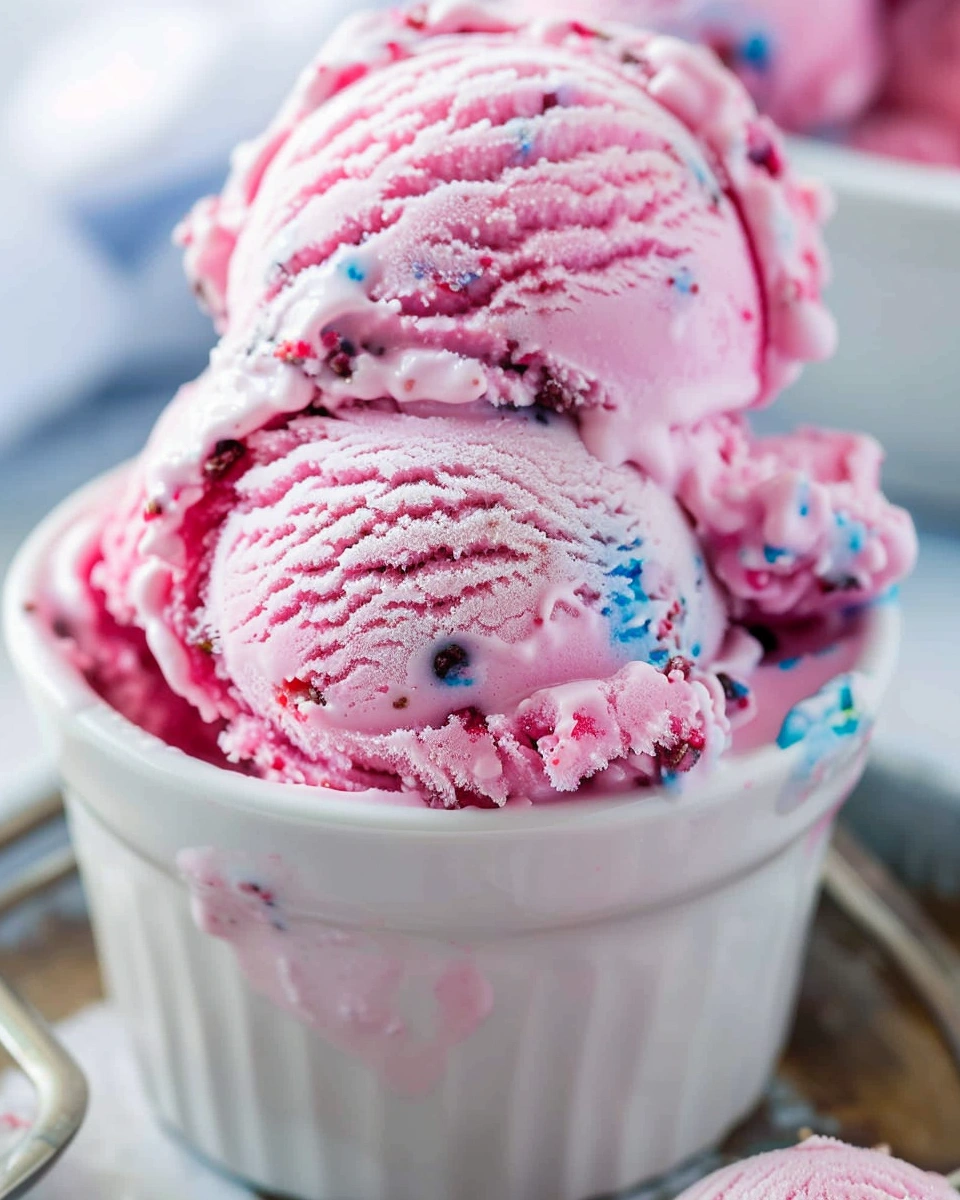
Craving a fun, colorful dessert but don’t want to deal with an ice cream machine? This cotton candy flavored ice cream (no-churn!) is the perfect solution. Many homemade ice creams require special equipment or complicated steps, but this one is simple, quick, and just as creamy.
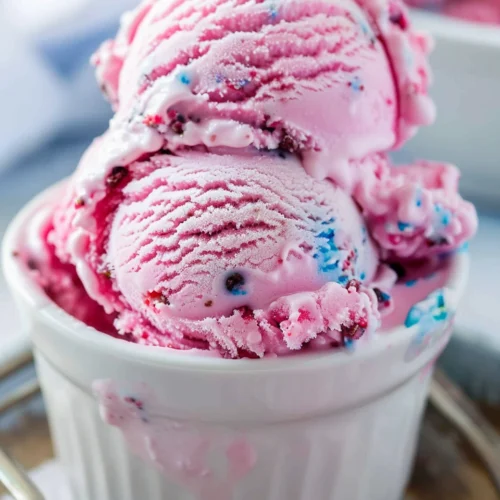
With its light, fluffy texture and nostalgic cotton candy flavor, this treat feels like a trip to the fair—right from your kitchen. I’ve made this recipe for parties and summer days, and it always gets smiles from both kids and adults.
In this guide, you’ll learn how to make cotton candy flavored ice cream (no-churn!), plus tips, variations, and FAQs to get that perfect creamy texture every time.
Why You’ll Love This Recipe
-
No ice cream maker needed – Super simple method
-
Light and creamy – Smooth, scoopable texture
-
Fun cotton candy flavor – Sweet and nostalgic
-
Quick prep – Just mix and freeze
-
Perfect for parties – Colorful and eye-catching
Ingredients & Prep
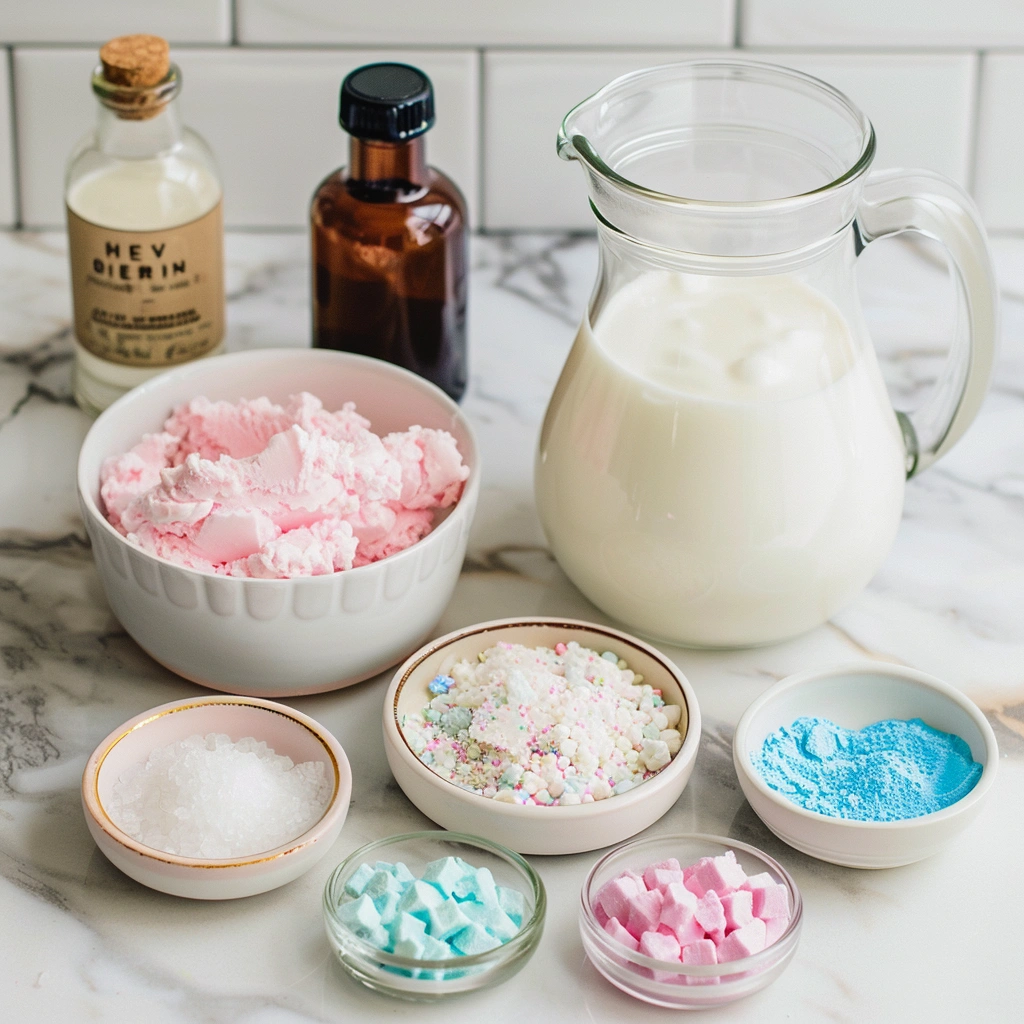
Main Ingredients Prep
-
Heavy whipping cream (2 cups, cold)
Keep it chilled for best whipping results. -
Sweetened condensed milk (1 can, 14 oz)
This creates the creamy, sweet base.
Seasonings, Sauces, or Flavor Base
-
Cotton candy flavoring (1–2 teaspoons)
-
Vanilla extract (1/2 teaspoon, optional)
For color:
-
Pink and blue food coloring
Pantry Staples
-
Mixing bowls
-
Hand mixer or stand mixer
-
Spatula
-
Loaf pan or freezer-safe container
Step-by-Step Cooking Instructions
Pre-Cooking Prep
-
Chill your mixing bowl and beaters for better whipping.
-
Measure all ingredients ahead of time.
-
Prepare food coloring for easy mixing.
Mixing Method
-
In a large bowl, whip heavy cream until stiff peaks form (about 3–4 minutes).
-
In another bowl, mix sweetened condensed milk with cotton candy flavoring and vanilla.
-
Gently fold the whipped cream into the condensed milk mixture. Do not overmix.
-
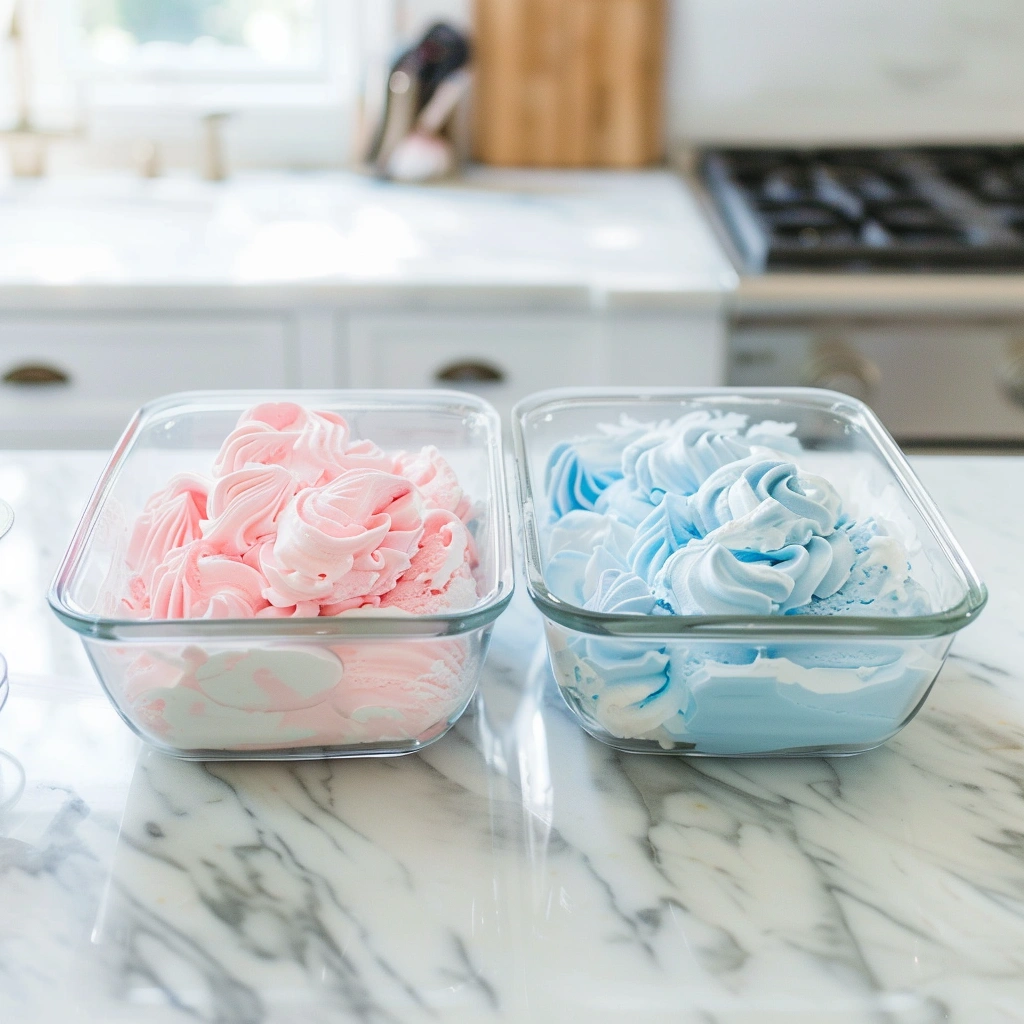
Divide the mixture into two bowls. Color one pink and one blue.
Layering & Freezing
-
Spoon alternating colors into a loaf pan to create a swirl effect.
-
Use a knife to gently swirl for a marbled look.
-
Cover and freeze for at least 6 hours or overnight.
Doneness or Texture Check
-
Ice cream should be firm but scoopable
-
Smooth and creamy, not icy
-
Holds shape when scooped
Resting or Final Touches
-
Let sit at room temperature for 5 minutes before scooping
-
Serve in bowls or cones
-
Add sprinkles for extra fun
Pro Tips for Perfect Results
Common Mistakes to Avoid
-
Overmixing – can deflate whipped cream
-
Not whipping cream enough – affects texture
-
Adding too much coloring – can change consistency
-
Skipping chill time – leads to soft ice cream
Recommended Tools
-
Hand or stand mixer for whipping
-
Silicone spatula for folding
-
Loaf pan for freezing
-
Knife for swirling colors
Storage & Reheating Tips
-
Store in freezer for up to 2 weeks
-
Keep tightly covered to avoid ice crystals
-
Let soften slightly before serving
-
Do not microwave
Flavor Variations
Spicy Version
Add a tiny pinch of cinnamon for a warm contrast to the sweetness.
Healthy / Special Diet Option
-
Use coconut cream instead of heavy cream
-
Try sugar-free condensed milk alternatives
-
Use natural food coloring
Global Flavor Twist
-
Add bubblegum flavoring for a carnival-style mix
-
Swirl in berry puree for a fruity touch
-
Add white chocolate chips for extra texture
Serving Suggestions
This cotton candy flavored ice cream (no-churn!) is perfect for:
Serve with:
-
Waffle cones or bowls
-
Sugar cones for a classic feel
Toppings:
-
Sprinkles
-
Mini marshmallows
-
Cotton candy pieces
Perfect occasions:
-
Birthday parties
-
Summer gatherings
-
Movie nights
FAQs
Can I make this ahead of time?
Yes! This cotton candy flavored ice cream (no-churn!) is perfect for making ahead. Freeze it overnight and it’s ready whenever you need a fun dessert.
How do I fix common mistakes?
-
Too icy? Make sure cream is whipped properly
-
Too soft? Freeze longer
-
Not fluffy? Avoid overmixing
Conclusion
This cotton candy flavored ice cream (no-churn!) is a fun, easy dessert that brings a playful twist to homemade ice cream. With its creamy texture and nostalgic flavor, it’s perfect for any occasion.
Once you try it, you’ll love how simple it is to create a colorful, crowd-pleasing treat without any special equipment. It’s a recipe you’ll come back to again and again.
If you enjoyed this recipe, share it with friends and explore more no-churn desserts for even more easy and delicious ideas!
Cotton Candy Flavored Ice Cream (No-Churn!)
Ingredients
- 2 cups heavy whipping cream cold
- 1 can 14 oz sweetened condensed milk
- 1 –2 teaspoons cotton candy flavoring
- 1/2 teaspoon vanilla extract optional
- Pink and blue food coloring
Instructions
- Chill mixing bowl and beaters for best results.
- In a large bowl, whip heavy cream until stiff peaks form (3–4 minutes).
- In another bowl, mix sweetened condensed milk with cotton candy flavoring and vanilla.
- Gently fold whipped cream into the condensed milk mixture.
- Divide mixture into two bowls and color one pink and one blue.
- Spoon alternating layers into a loaf pan.
- Swirl gently with a knife for a marbled effect.
- Cover and freeze for at least 6 hours or overnight.
- Let sit for 5 minutes before scooping and serving.
Notes
- Do not overmix to keep the texture light and airy.
- Whip cream to stiff peaks for best consistency.
- Use minimal food coloring to avoid altering texture.
- Freeze long enough for a firm, scoopable result.
- Keep tightly covered to prevent ice crystals.